• blog
  • about
  • Email List
  • Archives
Menu

HAZEL HAUS

Street Address
the best things in life are edible
Phone Number
A Food + Travel Blog

Your Custom Text Here

HAZEL HAUS

  • blog
  • about
  • Email List
  • Archives

Sarah's Toasted Coconut Cake

March 20, 2024 Jenna Hazel

Before trying this coconut cake I wouldn’t have thought of myself as a coconut cake person. I grew up with coconut cake being a staple of our Easter spread, but that coconut cake was more known for its adorable bunny face shape and cute licorice whiskers than flavor. Don’t get me wrong, there’s a time and place for adorably decorated cakes, but this cake didn’t leave me head over heals for coconut cake.

About a year and a half ago my friend Sarah brought this coconut cake to a cookout and since then I have changed my tune. I am officially a coconut cake person. The cake itself is perfectly spongy and the cream cheese frosting has the perfect tang contrasted with a touch of sweetness. This cake has captured my heart and I am positive it will capture yours.

Today I am so excited to have my friend Sarah here to share her recipe with us!

Tell us a little about yourself

Hi, I’m Sarah Spurlock!  I am a hair stylist, but am currently a stay at home mom.  I have 2 amazing daughters, Winnie (8), and Georgia (6), and have been married to my husband, Jeff, for 12 years.  I love to cook and bake, and it’s so rewarding for me when my family, or anyone else, happens to love something I make.  I am obsessed with coffee— V60 pour over or cappuccino for me, please. 

How did you get into baking?

I got into baking by spending time with my mom in the kitchen.  Food Network came out when I was little, and my Mom became hooked.  She had never really learned how to make anything from scratch, and being able to watch someone do it on tv made her determined to start.  When I got a little older, I began watching with her too, and was also hooked.  One of the main things I have memories of us making weekly was Banana Bread— so simple, but so comforting, and with 4 kids in my house, gone almost instantly.  As I got older, especially once I got married, I became determined to learn how to make all kinds of baked goods and desserts from scratch.  Now as a mom, I love to make treats for my girls.  My daughter Georgia had to go gluten-free 2 years ago, and I felt like I had to completely re-learn how to make a lot of things I had been making for years.  I feel like I’ve pretty much figured it out, but gluten-free baking definitely has a learning curve. 

What does baking mean to you? 

For me, baking is a way I show love to those around me.  I love making someone’s favorite treat, and seeing how excited it makes them.  Baking is also a way I love myself, and is therapeutic for me— I have definitely made brownies for myself at 9pm because I just have to have one.  Late night has become one of my favorite times to bake.  I love the precision and meticulousness of baking when I’m doing it alone, but I also love including my girls in it with me, knowing things won’t be perfect, but that they’re learning a fun skill, and that hopefully we’re making great memories together. I love how proud it makes my mom that I’m a good baker, knowing I wouldn’t be one if it weren’t for her showing me you can learn anything at any age if you really want to.

What makes this cake so special?

This coconut cake is special because I feel like it was the first time I really developed a recipe myself. I became curious about making coconut cake around Easter last year when tons of food blogs/social media pages were posting recipes. After reading recipe after recipe, I didn’t love the idea that most coconut cakes are just white cake covered in shredded coconut, or use extract/flavoring to make it taste like coconut. I felt like it needed to have more elements of natural coconut than that to truly be called coconut cake, so I started experimenting. I started by swapping out all the fat in the batter for virgin coconut oil. Then I decided to swap some of the sugar for coconut sugar, and the liquid for full fat coconut milk. The fragrance of coconut was so good, I knew I was getting somewhere. Then for the frosting, instead of just cream cheese, I decided to add some coconut oil as well. And lastly, to coat the cake, I decided to toast the coconut because we all know toasted coconut is way better than plain. What came from all this turned out to be a cake that my entire family, and many friends went crazy over, and I think I ended up making it around 10 times for different gatherings in less than a year!

Toasted Coconut Cake

Cake:

  • 4 large eggs, separated into whites and yolks

  • 1 cup solid virgin coconut oil at room temp

  • 2 cups coconut sugar

  • 2 teaspoons vanilla extract

  • 1/2 teaspoons almond extract

  • 1 13.5 oz can unsweet full fat coconut milk (make sure the fat and liquid are well mixed)

  • 2 3/4 cup unbleached all purpose flour OR 1:1 Gluten-free flour (I use bob’s red mill 1:1)

  • 1 teaspoon baking powder

  • 1/2 teaspoon baking soda

  • 1 teaspoon kosher salt

Frosting:

  • 8 oz softened cream cheese

  • 4 tablespoons softened salted butter

  • 4 tablespoons solid room temp coconut oil

  • 3 1/2 cups powdered sugar

  • 1 teaspoons vanilla extract

  • 1/4-1/2 tsp salt to taste

  • 2 cups sweetened coconut flakes for decorating, toasted

    Step 1) Preheat the oven to 350 degrees F. Butter and flour two 9-inch cake pans OR 9x13

    Step 2) Separate the eggs into whites and yolks. Set the yolks aside. Beat the egg whites to stiff peaks, then set aside until ready to use.

    Step 3) Whisk together the flour, baking powder, baking soda and salt in a medium bowl. 

    Step 4) Beat together the coconut sugar and coconut oil in a large bowl with an electric mixer or with a stand mixer with paddle attachment until well combined, about 2 minutes. 

    Step 5) Add the egg yolks, and extracts, and beat until just combined. 

    Step 6) Starting and ending with the coconut milk, alternate between adding the coconut milk and dry ingredients until everything is just combined.

    Step 7) Gently fold in the beaten whites with a spatula until completely incorporated, but maintaining the volume. Be very careful not to over-mix!

    Step 8) Divide the batter evenly between the prepared round cake pans (I use a scale for this to ensure even sized cakes), or a 9x13.

    Step 9) Bake until a toothpick inserted to the middle of the cakes comes out clean, about 30-35 min for 2 rounds, or 40-45 min for 9x13. Keep oven on after removing cakes!

    Step 10) If using round pans, Let cakes cool for about 5 min, then slide a knife along the edge of the pans to make sure the cakes will release, and invert onto cooling racks. Make sure cakes are completely cooled before frosting, about 40 min.

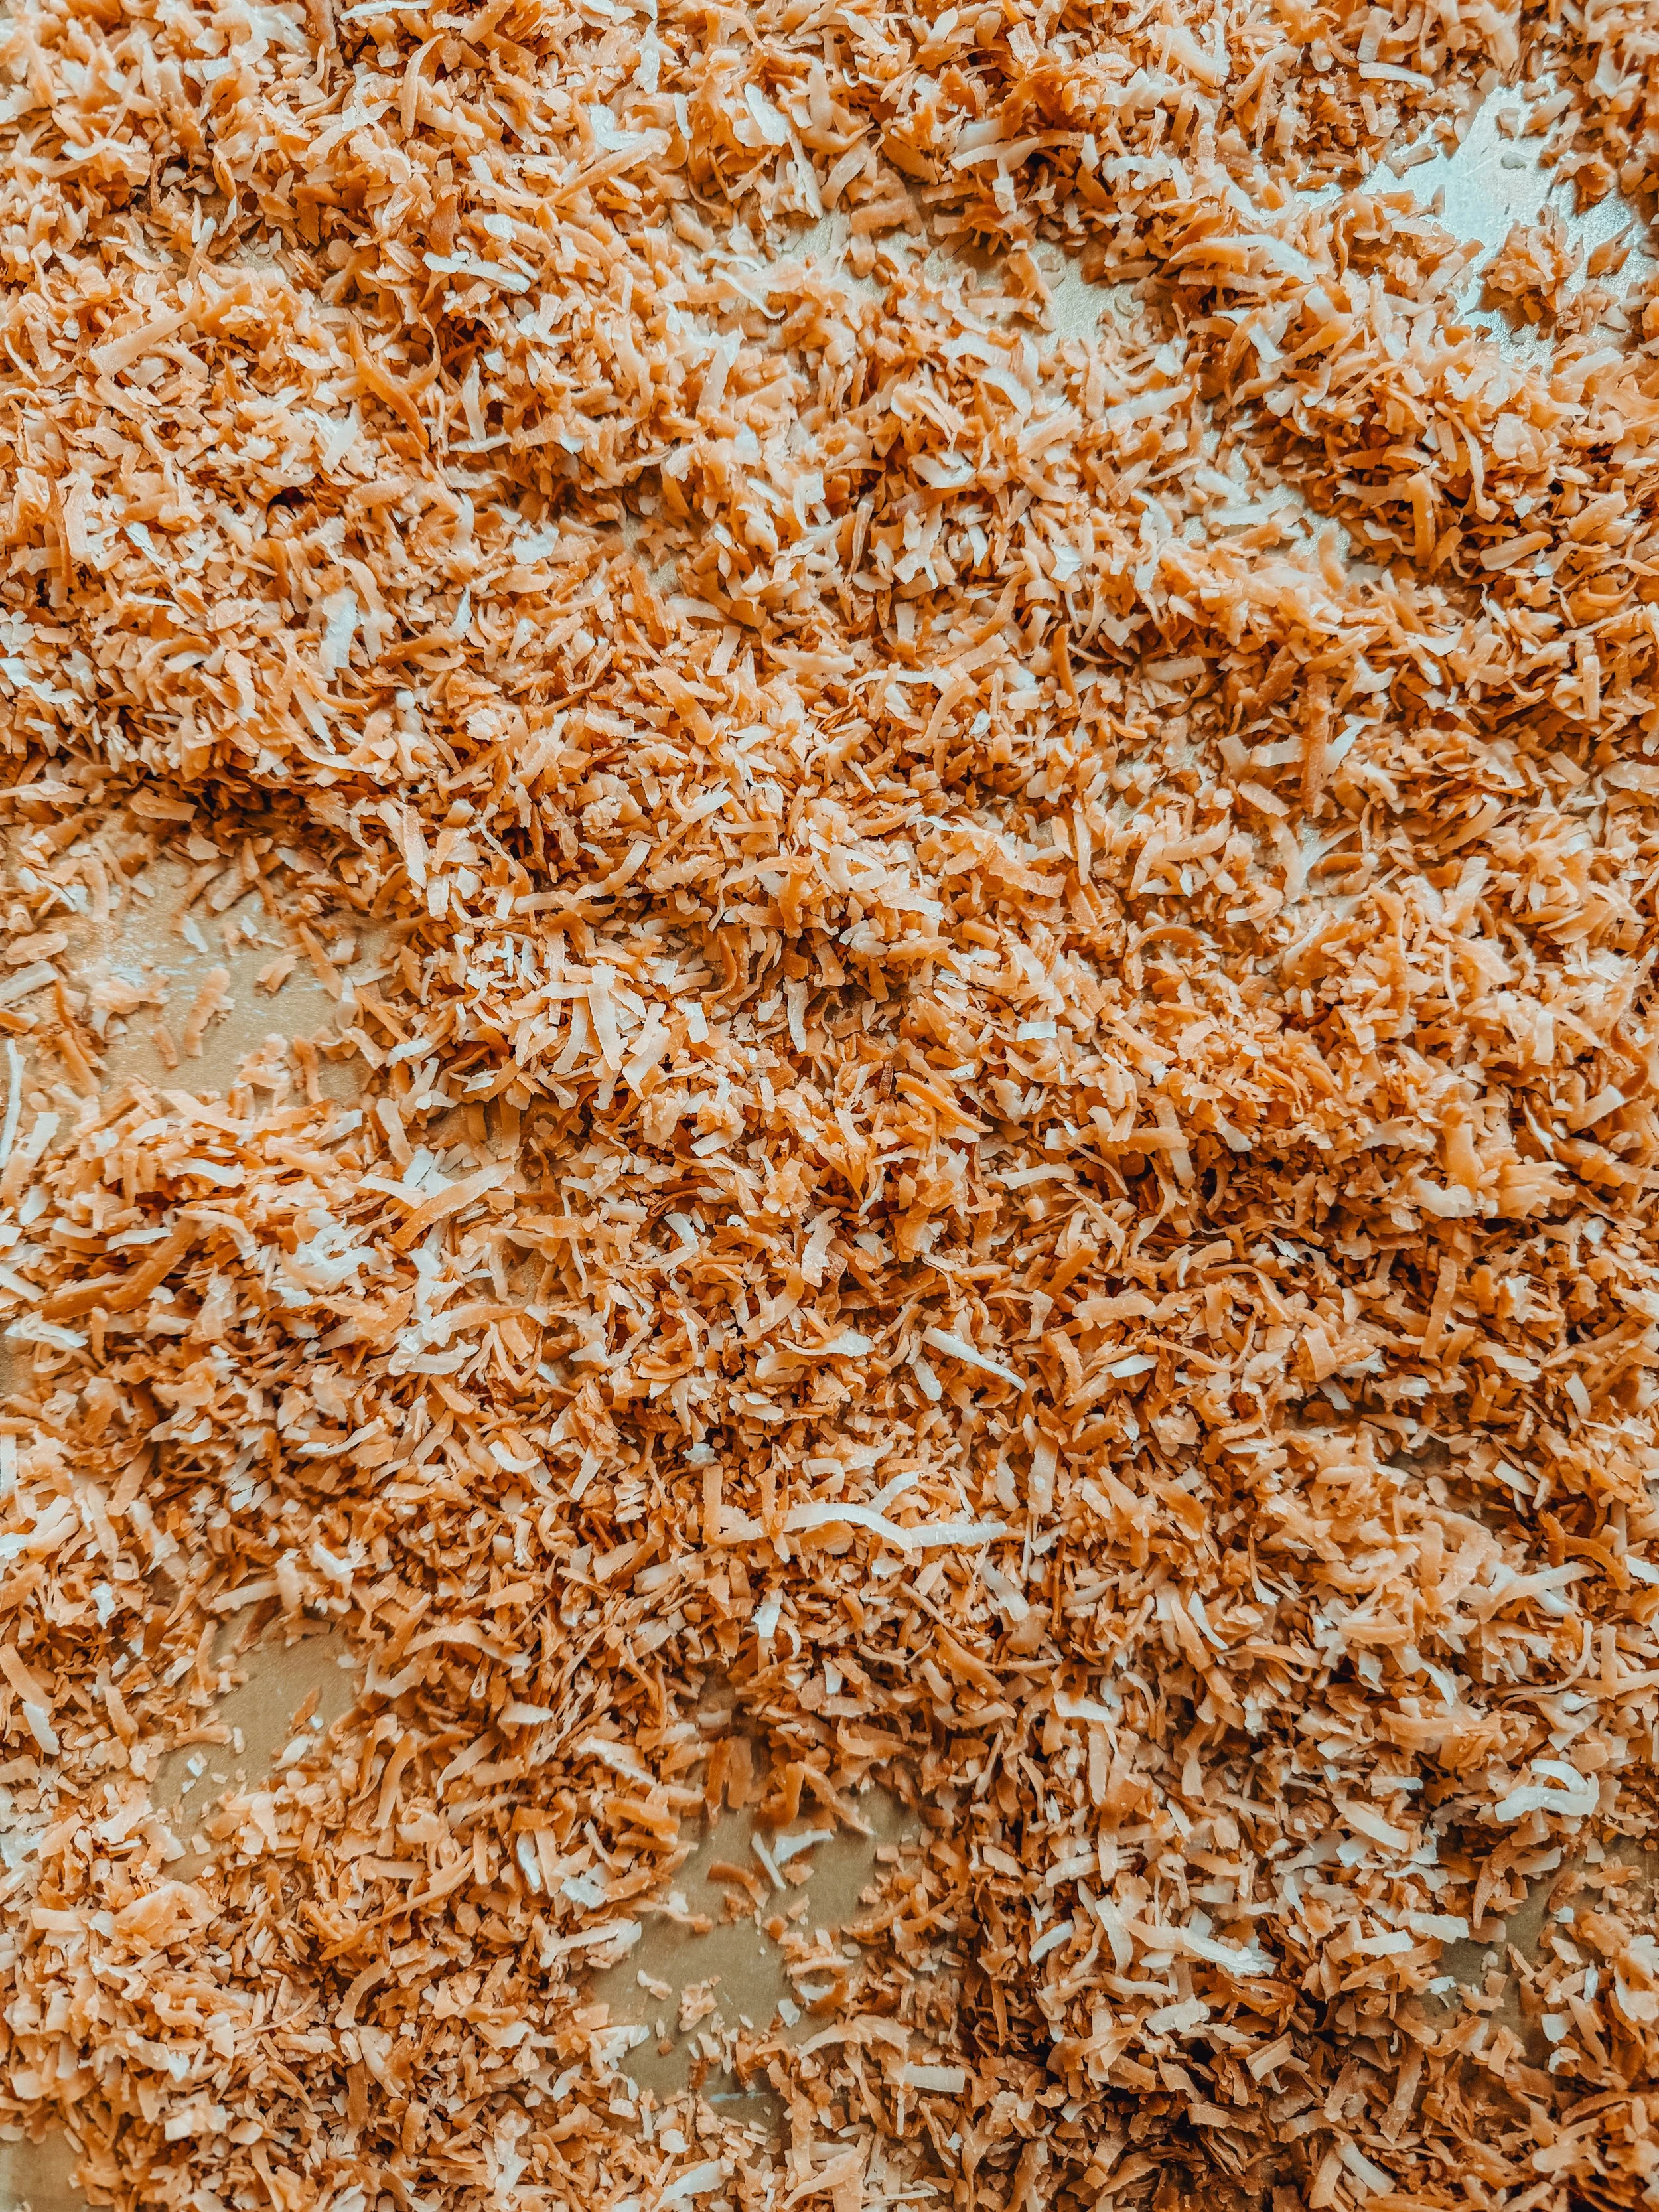
    Step 11) While the cakes are cooling, make the toasted coconut. Make sure oven is still at 350. Spread the shredded coconut onto a cookie sheet and toast for 5 min. Pull it out, toss the coconut, and put it back in for another 5 min. You may need to repeat the last step one more time if it does not look evenly toasted, but keep an eye on it, it can burn quickly. Once it looks evenly golden, remove it and let it cool completely.

    Step 12) For the frosting, beat the cream cheese, butter, and coconut oil in a stand mixer or in a bowl with a hand mixer until very smooth, about 2 minutes. Add the vanilla and salt. Slowly start to add the powdered sugar, beating it in a little at a time. Beat until all the sugar is combined and the frosting is stiff but still light and fluffy. Add more sugar if it is too loose, or a little milk if it is too thick. Set aside at room temperature until you are ready to decorate.

    Step 13) Once everything is cool enough to decorate, frost the cakes. Gently press the toasted coconut into the frosting until the whole cake is completely coated in coconut.

    Step 14) Slice and serve! 

    Note: This cake is very temperature sensitive due to do all the coconut fat. In cold temps, the cake will harden, so it needs to be stored in an area that stays mildly warm. In hot temps, the frosting can melt very easily, so store it in a cool place away from any direct sunlight. You can refrigerate this cake if you are making it a day ahead of time, but it would need to be pulled out at least 4-6 hours ahead of time to ensure it has time to soften. I’ve found this cake is best when served fresh, and eaten within a few days.

In Food: Cakes + Donuts
Comment

How to Make Starbucks Egg Bites At Home

February 25, 2024 Jenna Hazel

I love Starbucks egg bites! I think they make a really great breakfast —they’re fluffy, flavorful, and protein-packed. The price tag on these little egg bites is a major hang up for me though. Don’t get me wrong, I’m not above paying $6 for them if I’m traveling, BUT I refuse to do it on the regular.

That being said, I have tried to make egg bites at home before to get my fix without breaking the bank and they were fine, but they lacked the fluffiness that the Starbucks egg bites offer. HOWEVER, I discovered two key elements that make them fluffy and delicious.

The first key is cottage cheese. The cottage cheese should ideally be full fat to get the creamiest results. If you use lowfat the bites will end up with some excess water content which does not sound delicious.

The second key element is the water bath. The water bath works as a make shift sous vide method that allows the eggs to cook slowly and evenly. It truly is key! I know it sounds like an annoying extra step, but I promise that it is worth your effort.

The egg mixture comes together really quick. All you have to do is toss the eggs, cottage cheese, and cheese in a blender. Once you have your egg mixture prepped you can get creative with your add-ins. I personally love to use these chicken sausages from Costco and kale, but the sky is the limit. I would recommend cooking any meat or veggies that you’re going to be adding into the egg bites before putting them in the cups unless it is a precooked meat (like the chicken sausages I use) or a leafy green. Peppers, onions, broccoli, bacon, etc. will be best if cooked prior to placing in the cups.

I hope these inspire you to save a little money and make them in your own kitchen!

Copycat Starbucks Egg Bites

Makes 12 egg bites

  • 8 eggs

  • 1 cup whole milk cottage cheese (using the whole milk cottage cheese will reduce the water content)

  • 1 cup shredded sharp cheddar (or cheese of choice)

  • 1/2 teaspoon Salt

  • 1/4 teaspoon black pepper

  • Add-ins, bacon, chicken sausage, kale, roasted peppers, roasted onions, extra cheese, etc.

Preheat the oven to 325 degrees F. Coat a 12-cup silicone or other nonstick muffin pan with olive oil (I really like to use this spray.)

Combine eggs, cottage cheese, cheddar cheese, salt, and pepper in a blender and blend at medium speed until smooth.

Meanwhile, bring a kettle full of water to boil.

Place the greased muffin pan in a large, high-rimmed 9x13 pan. Place your add-ins inside the cups. I recommend precooking whatever veggies or meat you’re using (spinach, kale, and other leafy greens are the exception. They can go in raw and will cook up just fine.)

Then divide the egg mixture among the cups, filling them about 3/4 full. I used larger muffin tins in the photos so they are not quire as full.

Carefully pour boiling water into the 9x13 rimmed pan (avoiding getting eggs), until water reaches halfway up the sides of the muffin pan. Carefully transfer to the oven and bake until eggs are just firm, about 25 to 30 minutes. Let cool 5 minutes before removing the bites from the pan.

Note: Store in the fridge for up to 5 days. I’ve tried to freeze the egg bites and then heat them up and I honestly wouldn’t recommend this as the moisture condensates when they’re cooked and they are definitely not in their prime. If you’re torn between throwing some out and freezing them, you can definitely freeze them, but know that is not how they are going to be their best.

In Food: Breakfast
Comment

Nutella + Raspberry Linzer Cookies for Valentine's Day

February 12, 2024 Jenna Hazel

Happy Valentine’s Day friends!

Josiah and I decided to do our Valentine’s date early this year because of our schedules. We deviated completely from our usual asian cuisine and ended up at one of our favorite Omaha spots, Lyle’s Pizzeria. It’s so, so yummy! We got their pesto roll (which made me rethink my hesitation toward pesto — another story for another day) and their Bianco pizza, a white sauce pizza. Then we went to Dry Spokes, a craft mocktail and non-achoholic spirits bar to close out the night. It was our first time at Dry Spokes, but I am certain it won’t be our last. It was a definite treat.

Another treat, these Nutella + Raspberry Linzer cookies are the last minute treat you need to round out your Valentine’s Day celebrations.

Whether you’re looking for something to send with your kids to school or surprise a loved one with, I’ve got you covered. These linzer cookies come together quick, but feel elevated. If you don’t have this specific cookie cutter do not fret. You can use a biscuit cutter or another round cookie cutter and just make a on the top cookie pieces. They will likely be less precise, but that’s totally fine! We’re never looking for perfect over here.

I hope you have a lovely Valentine’s Day.

Happy Baking!

Raspberry + Nutella Linzer Cookies

Makes 16 Cookies

  • 1 1/2 cups unsalted butter at room temperature

  • 1 cup sugar

  • 1 tsp pure vanilla extract

  • 3 1/2 cups all-purpose flour

  • ¼ tsp salt

  • 1/4 cup raspberry jam

  • 1/4 cup Nutella
    Confectioners’ sugar, for dusting


In the bowl of an electric mixer fitted with the paddle attachment, mix together the butter and sugar until they are just combined. Add the vanilla. In a medium bowl, sift together the flour and salt, then add them to the butter-and-sugar mixture. Mix on low speed until the dough starts to come together. Dump onto a surface dusted with flour and shape into a flat disk. Wrap in plastic and chill for 30 minutes.

Preheat oven to 350 degrees Fahrenheit.

Roll the dough to ¼-in. thick and make 2¾-in. cutouts with a plain or fluted cutter. With half of the cutouts, use a 1-in. cutter to remove the middle. I used this specific linzer cookie cutter, but use whatever you have to make a round cookie and then use something to remove the center. (a straw perhaps?) or just cut a slit on the top cookie. Pictured below.

Bake the cookies for 12-14 minutes or until the edges begin to brown. Allow to cool to room temperature. Spread raspberry preserves or nutella on the flat side of each solid cookie. Dust the top of the cutout cookies with confectioners’ sugar, and press the flat sides together, with the raspberry preserves in the middle and the confectioners’ sugar on the top.

Here is a photo of what I recommend doing if you don’t have a heart specific cookie cutter to cut the center out.

In Food: Brownies + Cookies
2 Comments

Nutella Knots

January 28, 2024 Jenna Hazel

When I first learned about Nutella, it was all I wanted. Heck, it’s all I thought about. Nutella on toast. Nutella on apples. NUTELLA ON EVERYTHING.

Well somewhere along the lines I kind of stopped using it all. Probably a result of many dieting publications claiming it was awful for you.

Well, to hell with that! I’m back on the nutella game and man do we have a lot of catching up to do.

So many years wasted thinking it was bad.

So, so grateful to have worked to make a mindset shift that feels much more free. I might even venture to claim it’s nourishing. Too far? Okay, I’m not claiming it has any nutritious value per say, but it can still be nourishing. Maybe not in the same way a kale salad is, but in the way that it makes my heart happy — it’s nourishing my soul.

And since I claimed nourish as my word for 2024, I can see a lot of Nutella in my future.

These Nutella knots were born out of my rekindled love affair with the iconic chocolate-hazelnut spread and I can guarantee you will LOVE them. I recently added them to the Hazel Haus Bake Shop menu, but since so many of you don’t live within driving distance I wanted you to be able to have a taste of them in your own kitchen.

Don’t be intimidated by how long the dough takes to sit in the fridge. Just plan ahead.

Don’t get tripped up on how to tie them into knots. I have photos below, but if you need a little extra help I recommend this video. Don’t worry about being perfect. Just jump in and have fun.

I hope you enjoy. <3

Nutella Knots

Makes: 8 knots

Recipe for the dough is by Alison Roman

For the dough:

  • 1 cup whole milk

  • ¼ cup sugar

  • 2 ¼ teaspoons active dry yeast

  • 3 ¾ cups all-purpose flour (540g)

  • 1 ½ teaspoons baking powder

  • 1 ½ teaspoons kosher salt

  • 2 large eggs

  • 1/2 cup unsalted butter, room temperature, cut into ½” pieces

For the filling:

  • 1 cup nutella

Additional:

1 egg, whisked for brushing on knots prior to baking

Directions:

  1. Whisk whole milk, sugar, and yeast together in the bowl of a stand mixer fitted with the dough hook attachment. 

  2. Add the flour, baking powder, and salt. Mix on low speed until the dough starts to come together into a dry, shaggy mess. Add the eggs, one at a time, and mix on medium speed until you’ve got a smooth, sticky dough with no visible dry spots.

  3. With the mixer running, add the butter a few pieces at a time, letting the butter incorporate before adding more pieces. Eventually, the dough will take all the butter, disappearing into a silky, sticky dough. Knead this on medium speed for 3 to 4 minutes to continue to develop the gluten.

  4. Transfer the dough into a greased, medium bowl and immediately cover with plastic wrap. Place in the refrigerator for 12–24 hours (during this time, the dough is slowly rising which develops great flavor, the flour is hydrating which firms the dough up, and the butter is resolidifying, making everything easy to roll out). I have done this after only leaving it in the fridge for 6 hours and it works, but the dough isn’t as ideal to work with. So if you’re wanting nutella knots faster, there is that option, but know that the dough might be tougher to work with.

  5. Transfer the dough to a lightly floured work surface. You might want to leave it at room temperature for 10-15 minutes if it's really cold and difficult to roll out.

  6. With a rolling pin, roll the dough into a 19x12in rectangle.

  7. Evenly spread out the nutella using an offset spatula.

  8. Grab one of the long sides of the rectangle and fold it down to cover 2/3 of the dough, then grab the other side and fold it over the top (see pictures above for reference).

  9. Go over the dough a couple of times with a rolling pin to even out the sides.

  10. Use a sharp knife or bench scraper to cut the dough into 8 strips, roughly 2 inches each.

  11. Split each strip into three, leaving one side joined. Braid the strips to create a three-stranded plait. Grab the end of the plait and roll it up to create a bun—place all the shaped buns on a baking sheet lined with parchment paper. Cover with plastic wrap and allow the buns to rise for 20-30 minutes or until they have almost doubled in size.

  12. Preheat oven to 350 degrees.

  13. Remove the plastic wrap and gently brush the knots with the whisked egg.

  14. Bake at 350 degrees for 20-25 minutes or just until golden brown. Remove from the oven and enjoy!

Note: These freeze beautifully so feel free to bake a bunch and then place them in a freezer safe container once they are completely cooled and enjoy for many days to come.

In Food: More Sweet Things, Food: Bread
Comment
← Newer Posts Older Posts →
 

Hi! I’m Jenna — a creator, photographer, foodie, + travel enthusiast trying to bring some light and joy to this space! Welcome to my little corner of the internet where I share all things food + travel. Pour yourself a cup of coffee and take a look around!

GET ON THE LIST

Stay in the know! Sign up to be notified of new posts + get email exclusive content!

Your inbox will thank you.

Thank you!
To give Thanksgiving the respect it deserves I&rsquo;ll keep the recipe for these slightly more Christmas-y cookies on lock down a week longer, but after that it&rsquo;s free game. 🍪

If you&rsquo;d like the recipe for these Rosemary Brown Butter Ch
A GIANT PUMPKIN POP TART WITH A BROWN SUGAR ICING is live on the blog! ✨

With Thanksgiving arriving in less than 2 weeks I&rsquo;ve been dreaming up a dessert that feels like a good balance of both fun and tradition. This giant pumpkin pop tart brin
I had the best weekend eating (+ drinking) my way around Chicago! ✨ It always makes me so happy to be back in this city that grew me so much in my early 20&rsquo;s &mdash; what a privileged to return and reflect on the ways I&rsquo;ve grown and chang
NEW BLOG POST: Our favorite coffee, food, + sights in Omaha, Nebraska. 

There are truly so many places we love in Omaha! After living here for 6 years it felt like time to round up our top picks and share it with all of you. Hop over to the blog to
Fall in the neighborhood. ✨
Broccoli, couscous, pistachios, pumpkin seeds, + feta tossed with a lemon turmeric dressing for a nourishing lunch. ✨
A quick little 24 hour trip to hang with my mom. ❤️
Harissa chicken hummus plates ✨
Back on my Greek omelet kick! They&rsquo;ve been such a great breakfast that has felt both fresh and nutritious! 

I added Kalamata olives, tomatoes, mint, basil, and feta in this time, but it could easily maintain the Greek vibe with some red bell p